Give Your TV a Super Bowl LX Tuneup
Tweaking settings on a set from Hisense LG, Samsung, TCL, or another brand can help your TV look its best for the big game—and everything else

When you shop through retailer links on our site, we may earn affiliate commissions. 100% of the fees we collect are used to support our nonprofit mission. Learn more.

With the Super Bowl LX matchup between the Seattle Seahawks and the New England Patriots taking place on Feb. 8, you might be spending more time poring over game-time recipes than fiddling with your TV settings. But making some adjustments can help you enjoy the action, from breakaway runs to pinpoint passes.
That’s because the default settings probably don’t do justice to all the picture quality your TV can deliver.
You could pay a few hundred dollars for TV calibration, but it’s easy to do it yourself. And you don’t have to worry about messing things up; almost all TVs have a reset button to restore everything to the default settings.
Start With a Picture Mode Preset
All TVs now come with a menu of picture modes, such as “vivid,” “natural,” “sports,” and “cinema.” When you select one, the brightness, contrast, and sharpness are adjusted to preset values.
Our advice: Don’t choose “sports” mode for watching sports—or anything else. That could artificially boost brightness, contrast, and colors, and turn on motion smoothing (more on that below). Stay away from the “vivid” and “dynamic” modes, too. They tend to overemphasize contrast and sharpness, and lower the brightness to less-than-optimal levels.
Instead, we’ve found that modes with names like “natural,” “cinema,” and “movie” generally provide the best results. If your TV has a Filmmaker Mode, try it. It’s the one that gets most TVs closest to our own calibrated settings.
Become a member of Consumer Reports to get access to our TV Screen Optimizer, which will help you get the perfect picture on your TV in just minutes. Join today to get started.
Tweak the TV Settings Individually
With us so far? Once you’ve selected one of those preset modes, many TVs let you tweak the picture’s appearance further while staying in that mode. On other sets, once you start additional fiddling, the TV will automatically shift to a “custom” or “preference” mode.
Either way, the following steps will be the same.
Brightness level: Also called black level, it’s critical for top picture quality. Ideally, a TV should be able to display deep black areas of the picture without losing detail in the darkest areas of the image. Freeze-frame a nighttime scene, such as one from a Batman or vampire movie. Turn the brightness/black level up until you can see the details in the image’s darkest areas. Then turn it down so the black gets as black as possible without obscuring the detail. With most LCD sets, you won’t get as deep a black as you can with an OLED TV.
Contrast: Also called white level, it affects how bright the picture appears. Find an image with lots of white—say, a wedding gown or a sky full of puffy white clouds. Lower the contrast until you can see all the detail, such as the shadows in the folds of the gown or the subtle gray shadings in the clouds. Then raise it to get the brightest picture possible without washing out those details. You’ll generally want to set the contrast below the maximum level.
Color and tint: Once the black-and-white balance is optimized, it’s time to adjust the color settings. Start with color temperature, sometimes called color tone. We recommend choosing the “warm” or “low” setting to avoid whites appearing too blue. Then adjust the tint/hue control so that flesh tones look natural, neither too red nor too greenish-yellow. This setting generally works best when it’s in the middle of the range. Adjust the color-level control (saturation) so that colors look vivid and realistic, but not glowing. All of these settings may interact in odd ways, so repeat the process as necessary.
Sharpness and more: Manufacturers often set the sharpness control rather high and turn on noise-reduction and other image-enhancement modes. These are rarely needed when you’re watching high-quality HD programming or a Blu-ray movie. In most cases, you should resist the temptation to crank up the sharpness to enhance HD’s fine detail. The best HDTVs need little or no help showing the full resolution of HD images. If you set the sharpness control too high, the background will start to look grainy, and a halo will appear around the edges of certain objects, making the overall image appear less natural. We suggest turning the sharpness control down to zero, then adding sharpness sparingly if the image looks soft. Turn off any noise-reduction and image-enhancement modes, as well; those tend to reduce image detail.
One final thing to consider. Some TVs let you store different picture settings for different video inputs, such as cable TV, a streaming device, or a Blu-ray player. It might be worth storing customized settings for those inputs, since brightness, color, and other picture attributes can vary depending on the device supplying the video.
TV Picks
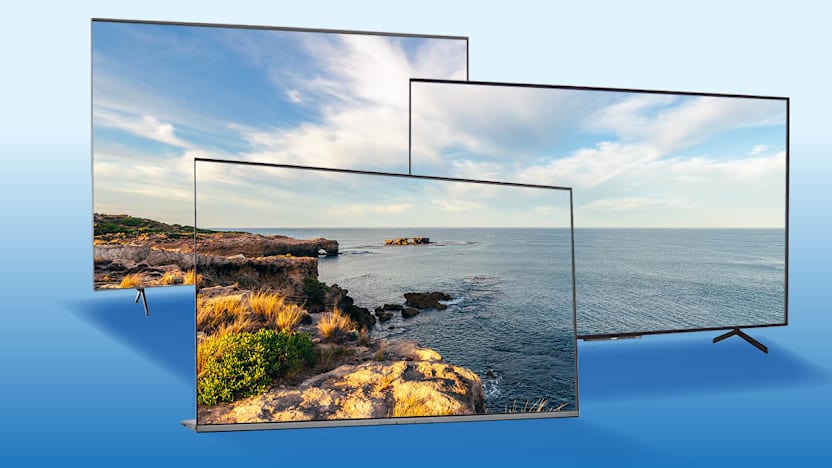
Other than being at the stadium in person, there’s no better way to catch all the action than with a big-screen TV that delivers a great overall picture quality. These 65-inch sets, at various prices, fit the bill. And don’t be afraid to go even bigger. Most of these models are also available in larger screen sizes.


")